
Introduction:
In this article, we will be covering how to install php myadmin on Ubuntu 22.0.
MySQL:
MySQL is an open-source relational database management system (RDBMS) that is widely used for managing and organizing data. Developed by Oracle Corporation, MySQL is known for its reliability, performance, and ease of use. It uses a client-server architecture and SQL (Structured Query Language) to interact with databases. MySQL is commonly used in web applications to store and retrieve data efficiently. It supports various storage engines, and transactions, and has a strong community and extensive documentation.
PhpMyAdmin
PhpMyAdminis a free software tool written in PHP, intended to handle the administration of MySQL over the Web. PhpMyAdmin supports a wide range of operations on MySQL and MariaDB. Frequently used operations (managing databases, tables, columns, relations, indexes, users, permissions, etc) can be performed via the user interface, while you still can directly execute any SQL statement.
Prerequisites:
You must have a Ubuntu 22 server with root access.
Step 1: Update the packages
sudo apt update
Step 2: Install MySQL-Server from the apt repository.
sudo apt install mysql-server
You need to set the root password for MySQL before installing mysql_secure_installation.Or the secure installation script will fail
Log in to MySQL using the command MySQL and then run the query to set the password for the root user.
ALTER USER ‘root’@’localhost’ IDENTIFIED WITH mysql_native_password BY ‘mysecrectpassword’;
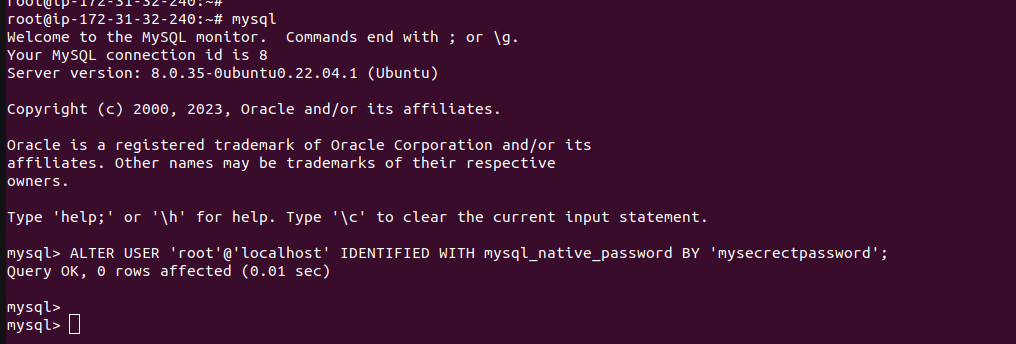
After this exit from MySQL and try to log in again with the command mysql -u root -p and the password you have provided.
mysql_secure_installation is a script that assists in securing a newly installed MySQL server by applying recommended security configurations.
Step 3: Run the secure installation script
mysql_secure_installation
This will take you to a series of prompts as shown below you can answer them according to your use case and complete all the configurations.
mysql_secure_installation

Securing the MySQL server deployment.

Enter password for user root:

VALIDATE PASSWORD COMPONENT can be used to test passwords
and improve security. It checks the strength of password
and allows the users to set only those passwords which are
secure enough. Would you like to setup VALIDATE PASSWORD component?

Press y|Y for Yes, any other key for No:
Using existing password for root.
Change the password for root ? ((Press y|Y for Yes, any other key for No) :

 ... skipping.
By default, a MySQL installation has an anonymous user,
allowing anyone to log into MySQL without having to have
a user account created for them. This is intended only for
testing, and to make the installation go a bit smoother.
You should remove them before moving into a production
environment.

Remove anonymous users? (Press y|Y for Yes, any other key for No) :

 ... skipping.


Normally, root should only be allowed to connect from
'localhost'. This ensures that someone cannot guess at
the root password from the network.

Disallow root login remotely? (Press y|Y for Yes, any other key for No) :

 ... skipping.
By default, MySQL comes with a database named 'test' that
anyone can access. This is also intended only for testing,
and should be removed before moving into a production
environment.


Remove test database and access to it? (Press y|Y for Yes, any other key for No) :

 ... skipping.
Reloading the privilege tables will ensure that all changes
made so far will take effect immediately.

Reload privilege tables now? (Press y|Y for Yes, any other key for No) :

 ... skipping.

All done!
Step 4: Create a new database and a user in MySQL
Login into MySQL using the root password and run this query.
CREATE USER 'john'@'localhost' IDENTIFIED BY 'password';Run this query to create a new user named John in MySQL with the password.
Next, Run this command to create a database my_db
CREATE DATABASE my_db;
Next need to grant privilege for this user for this database for that you need to run the script.
GRANT ALL PRIVILEGES ON my_db.* TO 'john'@'localhost';This will give access to all tables of the database to the user if you want to give access to a particular table you can modify the script accordingly like below.
GRANT ALL PRIVILEGES ON my_db.table TO ‘john’@’localhost’;
Try logging into MySQL using the new username.
Step 5: Install PHP and Required Extensions:
sudo apt install php libapache2-mod-php php-mysql
This will install Apache and the necessary packages for PhpMyAdmin.
After the installation, you can check the status of apache2 using the command
systemctl status apache2.service
Step 6: Install PhpMyAdmin
apt install phpmyadmin
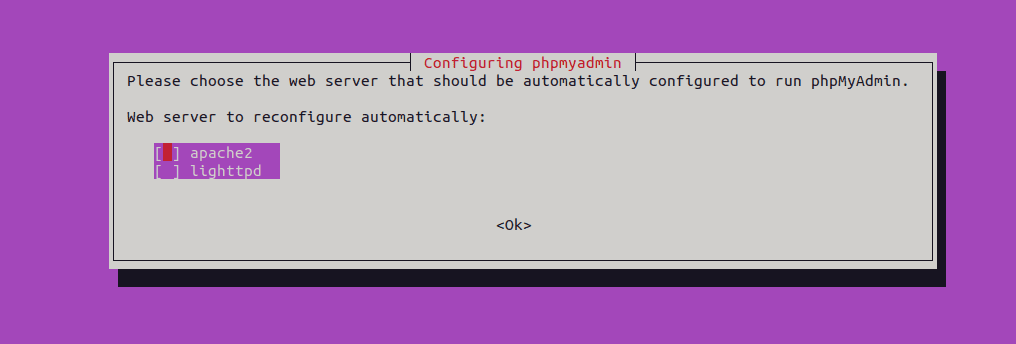
Only need to run this command to install PhpMyAdmin and follow the installation wizard.
Chose apache2 webserver to configure automatically
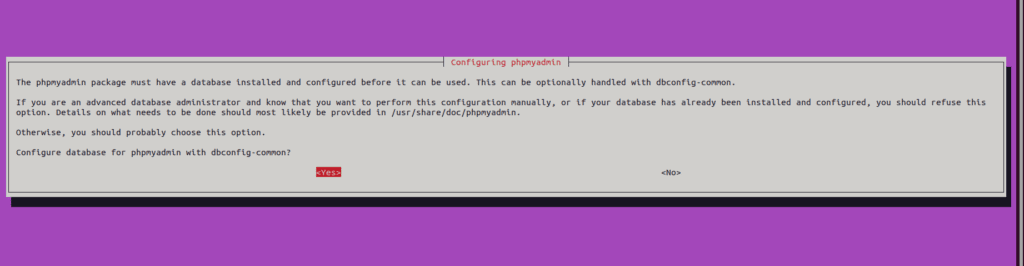
Then you can either manually create the dbconfig-common or else click yes and enter the root password of your MySQL server to configure automatically.
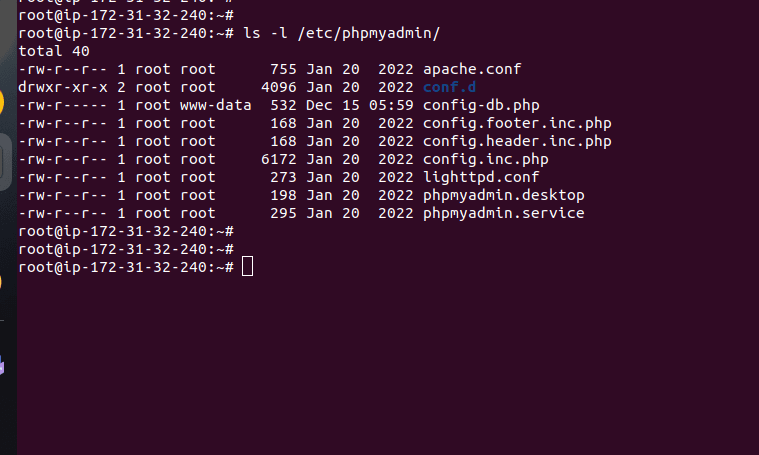
After the process completes the PhpMyAdmin creates a configuration directory in /etc/phpmyadmin.
You can see an apache.conf as well as config-db.php file.
The apache.conf holds the configuration file for Apache and config-db.php contains the connection details of mysql-server.
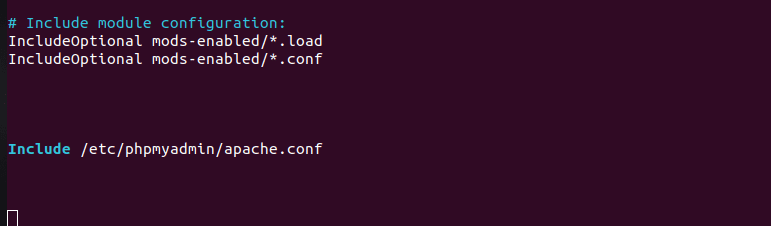
Lastly, you need to include this PhpMyAdmin apache configuration file in the apache.conf.
For that open vi /etc/apache/apache2.conf.
Append this line to the conf file and check the syntax using the command apachectl -t.
And restart the Apache service.
Test the working open up your browser and type http://<your_server_public_ip>/phpmyadmin
You will get the default PhpMyAdmin login page as shown below.
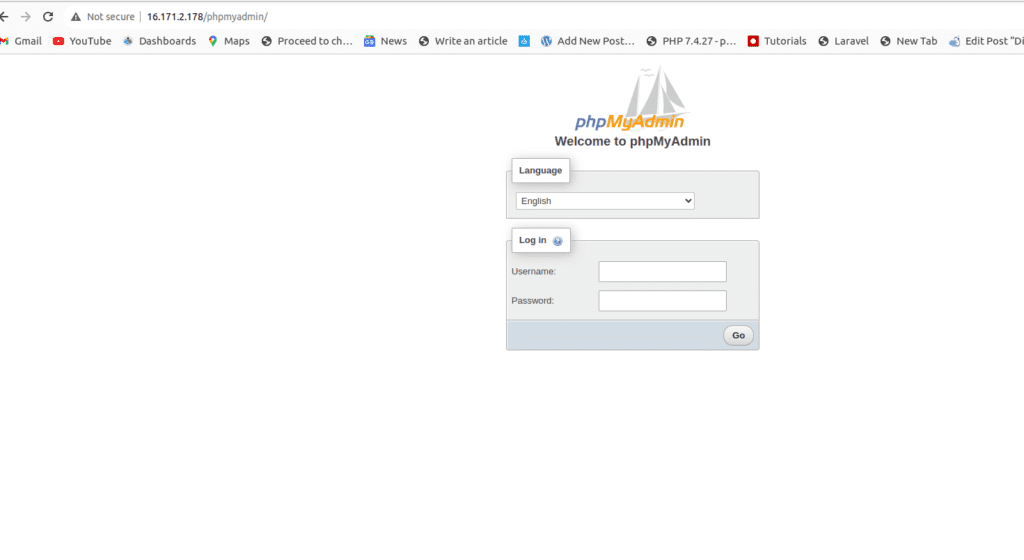
Try to log in using the MySQL details you can either log in via the root user or by the non-root user.
After successful login, you will get a similar console as shown below.
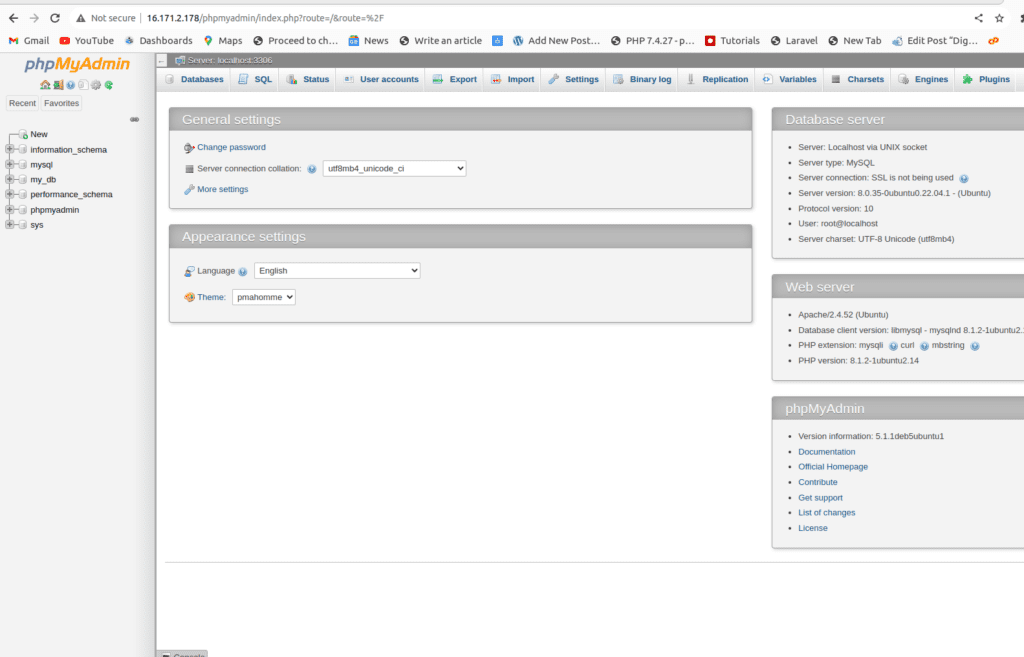
You can also use the same setup to install local host php my admin
Step 7: Remove PhpMyAdmin
In order to remove PhpMyAdmin you need to run the below commands
apt remove phpmyadmin
apt purge phpmyadmin
Summary:
In this article, you have learned how to install and configure MySQL and PhpMyAdmin in Ubuntu 22.0


wow, awesome blog.Much thanks again. Will read on…