Nginx is the most popular web server in the world and is responsible for hosting millions of web applications around the world. Because of the easiness and lightweight Nginx is considered people’s favourite web server which consists of many advanced features like reverse proxy, load balancing etc.In this blog, I will show you how to install Nginx and configure it in ubuntu 20.04
. Please note that you need a server with root access to perform the below steps.
Step 1: Installing Nginx
As nginx is available in the official ubuntu repo we can directly install using the apt command.
apt update
apt install nginx
Step 2: Checking the status of Nginx
After installation, we need to check the status of Nginx using the systemctl command.
As it shows active and running which means our installation of Nginx on ubuntu is successful.
systemctl status nginx
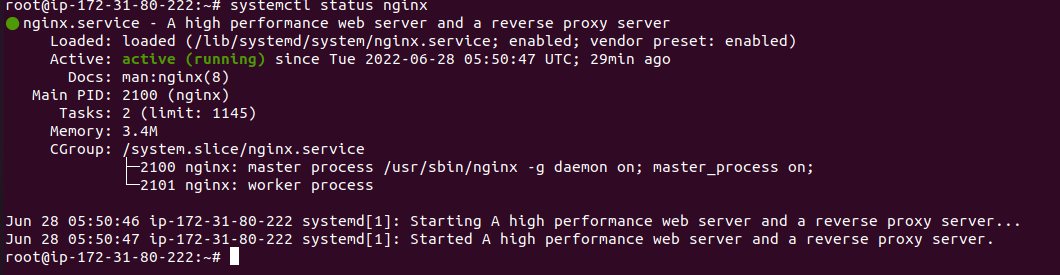
It will show an output similar to this.
In order to start Nginx on boot you can use
systemctl enable nginx
Step 3: Adjusting the firewall
Please make sure that port 80 is port as we are doing it for test purposes. You can either do a telnet command to check whether port 80 is open and nginx is listening to port 80 on the server.
telnet localhost 80

Now try to telnet to port 80 outside your server ie telnet <your serverip>80 in order to make sure that 80 is open to the public.
If you have The datacentre console access make sure to open port 80 in the server from the dc end.
If you still have opened port 80 from your dc end and fail to telnet from outside the server which means that the firewall running in the server is blocking the connection to port 80 please make sure to open the port inside the firewall also.
iptables -I INPUT -p tcp -m tcp –dport 80 -j ACCEPT
This command will open port 80 to the public.
Now check whether Nginx is listening on port 80 using the netstat command.
netstat -pnltu | grep 80

confirm that Nginx is running on port 80.
Step4: Checking the installation of Nginx globally
Now check whether Nginx is returning the default Nginx page. go to the web browser and type http://<your_server_ip>.
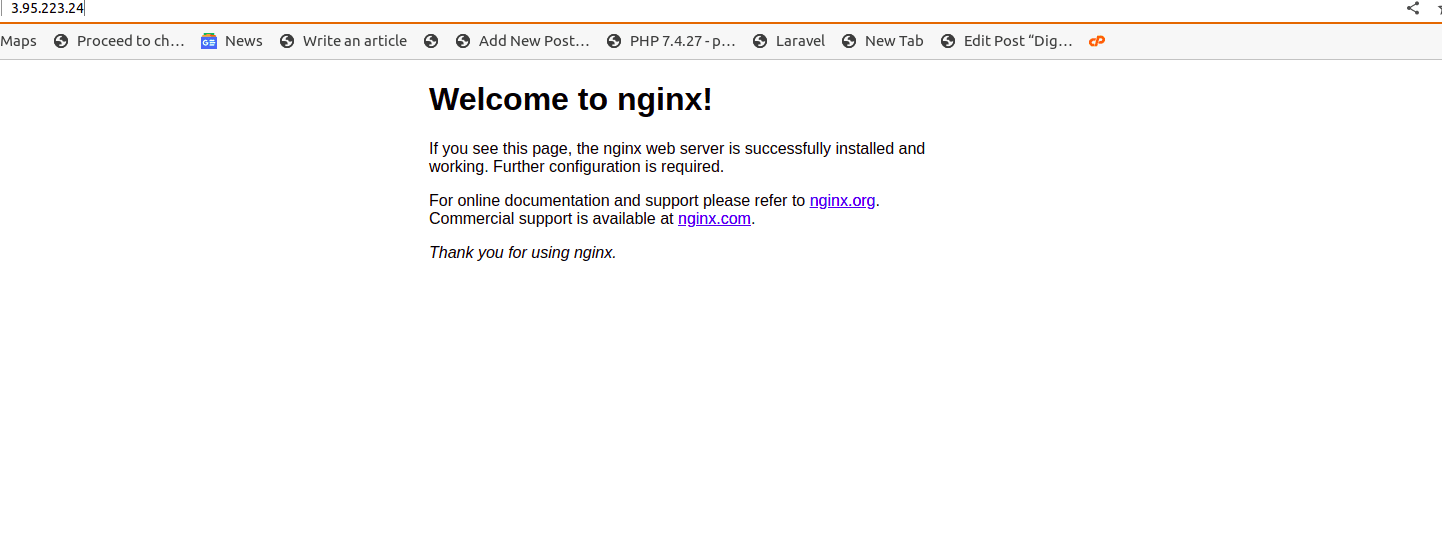
So you now successfully installed Nginx on your server and confirmed its working
Step 5: Checking the main Nginx configuration file
Now let’s go through some configurations in Nginx to host a simple static webpage.
The configuration files in Nginx are stored in /etc/nginx directory. Navigate into that directory and if we list down the files it will return an output similar to the below image.
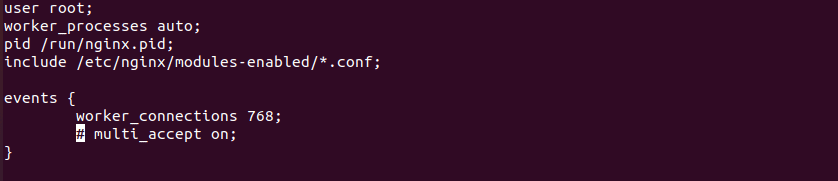
The main configuration of Nginx is called the file name nginx.conf.If we cat out the contents inside the nginx.conf file will look similar to this which defines Nginx as running as user www-data.


As in default while installing Nginx www-data user is not created in our ubuntu system so either we can create a user name www-data but for testing, I am running Nginx as the root user in this demo so edit the user www-data into user root.
After changing the user Nginx worker process will also run as the root user. You can create your own user and change it accordingly.
And also the virtual host configuration files are defined in /etc/nginx/conf.d/*.conf.Here we are running Nginx on ubuntu which also includes the virtual host conf files file /etc/nginx/sites-enabled/* directory.
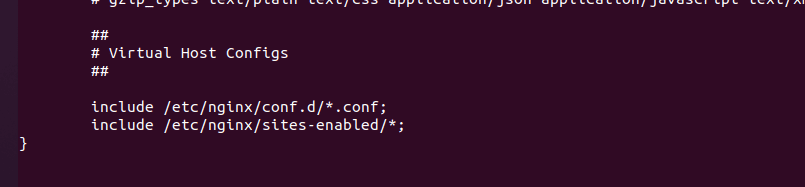
It will not show up in centos or RedHat so as a best practice, use default conf.d, just because is a standard convention and can work anywhere. And, if you need to disable a site, you could just rename the config by adding a .disabled suffix.
So in this demo, I am not going to work with either the sites-enabled or sites-available directory because it will only show up by default in ubuntu so I am going to deploy a static website in
/etc/nginx/conf.d/ directory
Step 6: Creating a virtual host in /etc/nginx/conf.d directory
Create a conf file name domain.com.conf in /etc/nginx/conf.d/ directory and copy-paste the below server block in it.
cd /etc/nginx/conf.d/
vi domain.com.conf
    server {
    listen 80;
    listen [::]:80;

     server_name domain.com;

    root /var/www/domain;
    index index.html;

    location / {
            try_files $uri $uri/ =404;
    }
}
next, create a directory inside /var/www named domain and put an index.html page to test the working.
mkdir -p /var/www/domain
chown -R $USER:$USER /var/www/domain
vi index.html
copy paste the below code into index.html
<html>
<head>
<title>Welcome to your_domain!</title>
</head>
<body>
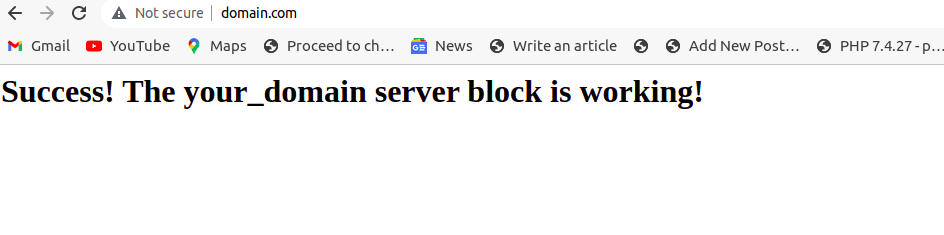
<h1> Success! The your_domain server block is working! </h1>
</body>
</html>

In order to test all the Nginx configuration is successful do nginx -t it will return a successful message.
Reload the Nginx using the command
nginx -s reload
OR
systemctl reload nginx
Step 6:Testing whether our virtual host is working or not.
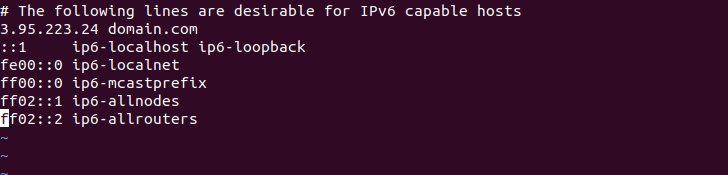
Test whether the page is working or not.As our domain is not publicly available i am putting the domain as host entry in my local computer to see its working. Enter this command on your local terminal
sudo vi /etc/hosts
Put the IP address of the server and domain name as shown in the above image in your host file.
navigate into the web browser and type domain.com to see its working
Summary:
In this blog, we have discussed how to install Nginx on ubuntu 20.04
Related blog
How to configure Nginx to work with PHP-fpm.
https://www.linuxlearninghub.com/how-to-configure-nginx-to-work-with-php-fpm/